Securely And Directly Connect Raspberry Pi IP Address: Your Ultimate Guide
So, you're diving into the world of Raspberry Pi, huh? Whether you're a tech enthusiast or just starting out, connecting your Raspberry Pi securely and directly to its IP address is a must-know skill. In this guide, we’ll walk you through everything you need to know to get your Pi up and running safely and efficiently. From setting up your IP address to ensuring top-notch security, we’ve got you covered. Let’s dig in, shall we?
Connecting your Raspberry Pi might sound like a daunting task, especially if you’re new to the game. But don’t sweat it! By the end of this article, you’ll be able to securely and directly connect Raspberry Pi IP addresses like a pro. We’ll break it down step by step so that even if you’re not a tech wizard, you’ll still feel confident tackling this project.
Let’s face it—Raspberry Pi has become a go-to device for hobbyists, developers, and educators alike. With its versatility and affordability, it’s no wonder why it’s so popular. But with great power comes great responsibility, and that means making sure your setup is secure. This guide will help you do just that, so you can focus on the fun stuff without worrying about potential threats.
- Aditi Mistry New Hot Live Video The Buzz The Truth And Everything Inbetween
- Kirsten Too Sweet Leaks The Inside Story You Need To Know
Why Securely Connecting Your Raspberry Pi Matters
Alright, let’s talk about why securely connecting your Raspberry Pi is such a big deal. Sure, it’s a tiny device, but don’t let its size fool you. A Raspberry Pi can be a powerful tool, and with power comes risks. If you don’t secure your Pi properly, you’re leaving the door wide open for hackers and other digital threats. No one wants that, right?
When you connect your Raspberry Pi directly to its IP address, you’re essentially giving it access to your network. If your network isn’t secure, your Pi isn’t secure either. That’s why taking the necessary steps to lock things down is crucial. Not only does it protect your Pi, but it also safeguards your entire network and any sensitive data you might have stored.
Common Security Risks to Watch Out For
Here’s a quick rundown of some common security risks you might face when connecting your Raspberry Pi:
- Bolly4u Movie Your Ultimate Destination For Bollywood Entertainment
- Aditi Mistry Private Video The Story Beyond The Headlines
- Unauthorized Access: If your Pi isn’t secured, anyone with access to your network could potentially take control of it.
- Malware Attacks: Malicious software can compromise your Pi and spread to other devices on your network.
- Data Breaches: If you’re using your Pi for projects involving sensitive data, a breach could lead to serious consequences.
- Network Vulnerabilities: Weak passwords or outdated software can leave your network vulnerable to attacks.
By understanding these risks, you can take the necessary precautions to keep your Raspberry Pi safe and secure.
Understanding Raspberry Pi IP Address Basics
Before we dive into the nitty-gritty of securely connecting your Raspberry Pi, let’s cover some basics. An IP address is essentially your Pi’s digital address on a network. Think of it like a home address, but for your device. Without an IP address, your Pi wouldn’t be able to communicate with other devices or access the internet.
There are two main types of IP addresses you should know about: static and dynamic. A static IP address stays the same every time your Pi connects to the network, while a dynamic IP address changes each time. Choosing the right type depends on your specific needs and setup.
Static vs. Dynamic IP Addresses
Here’s a quick comparison to help you decide which one is best for you:
- Static IP Address: Great for devices that need a consistent address, like servers or devices running specific applications. It’s more secure and easier to manage in the long run.
- Dynamic IP Address: Automatically assigned by your router, making it easier to set up. However, it can change frequently, which might cause issues if you’re running applications that require a fixed address.
For most Raspberry Pi projects, a static IP address is the way to go. It ensures stability and makes it easier to access your Pi remotely.
Steps to Securely Connect Raspberry Pi IP Address
Now that you understand the importance of securing your Raspberry Pi and the basics of IP addresses, let’s get into the actual steps. Follow these carefully, and you’ll have your Pi securely connected in no time.
Step 1: Update Your Raspberry Pi
First things first—make sure your Raspberry Pi is fully updated. This ensures you have the latest security patches and bug fixes. To update, open the terminal and type the following commands:
sudo apt update and sudo apt upgrade.
This might take a few minutes, depending on your internet speed and the number of updates available. But trust us, it’s worth the wait.
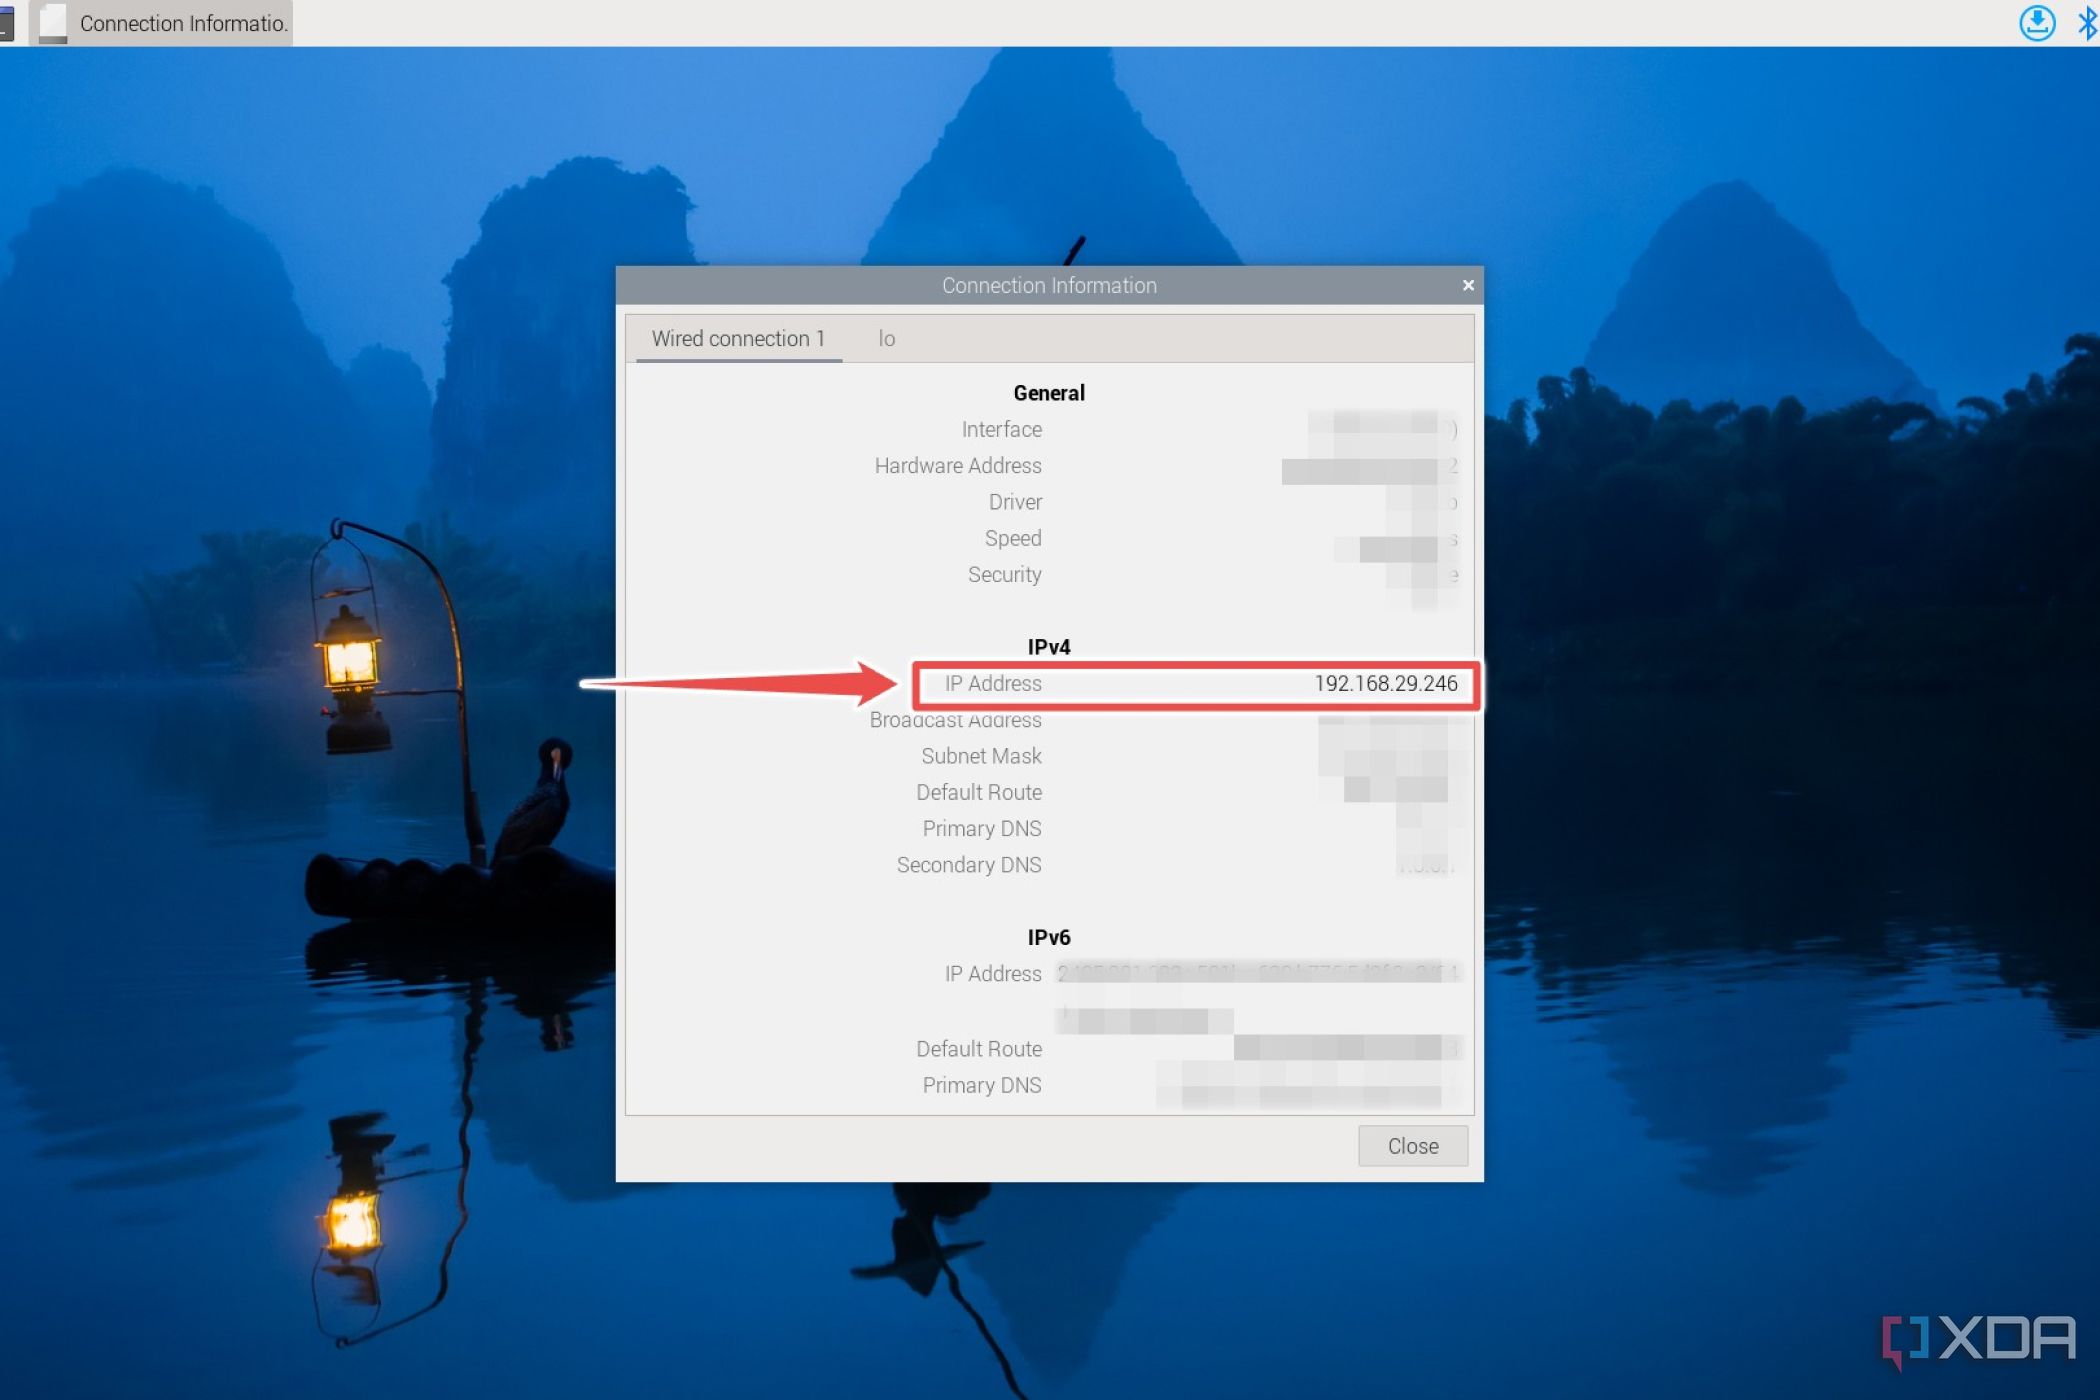
Step 2: Configure a Static IP Address
Next, you’ll want to set up a static IP address for your Pi. This ensures that your Pi always has the same address, making it easier to access. Here’s how you do it:
- Open the terminal and type
sudo nano /etc/dhcpcd.conf. - Scroll to the bottom of the file and add the following lines:
interface eth0static ip_address=YOUR_DESIRED_IP/24static routers=YOUR_ROUTER_IPstatic domain_name_servers=YOUR_DNS_SERVER- Save and exit by pressing
Ctrl + X, thenY, and finallyEnter.
Replace YOUR_DESIRED_IP, YOUR_ROUTER_IP, and YOUR_DNS_SERVER with the appropriate values for your network.
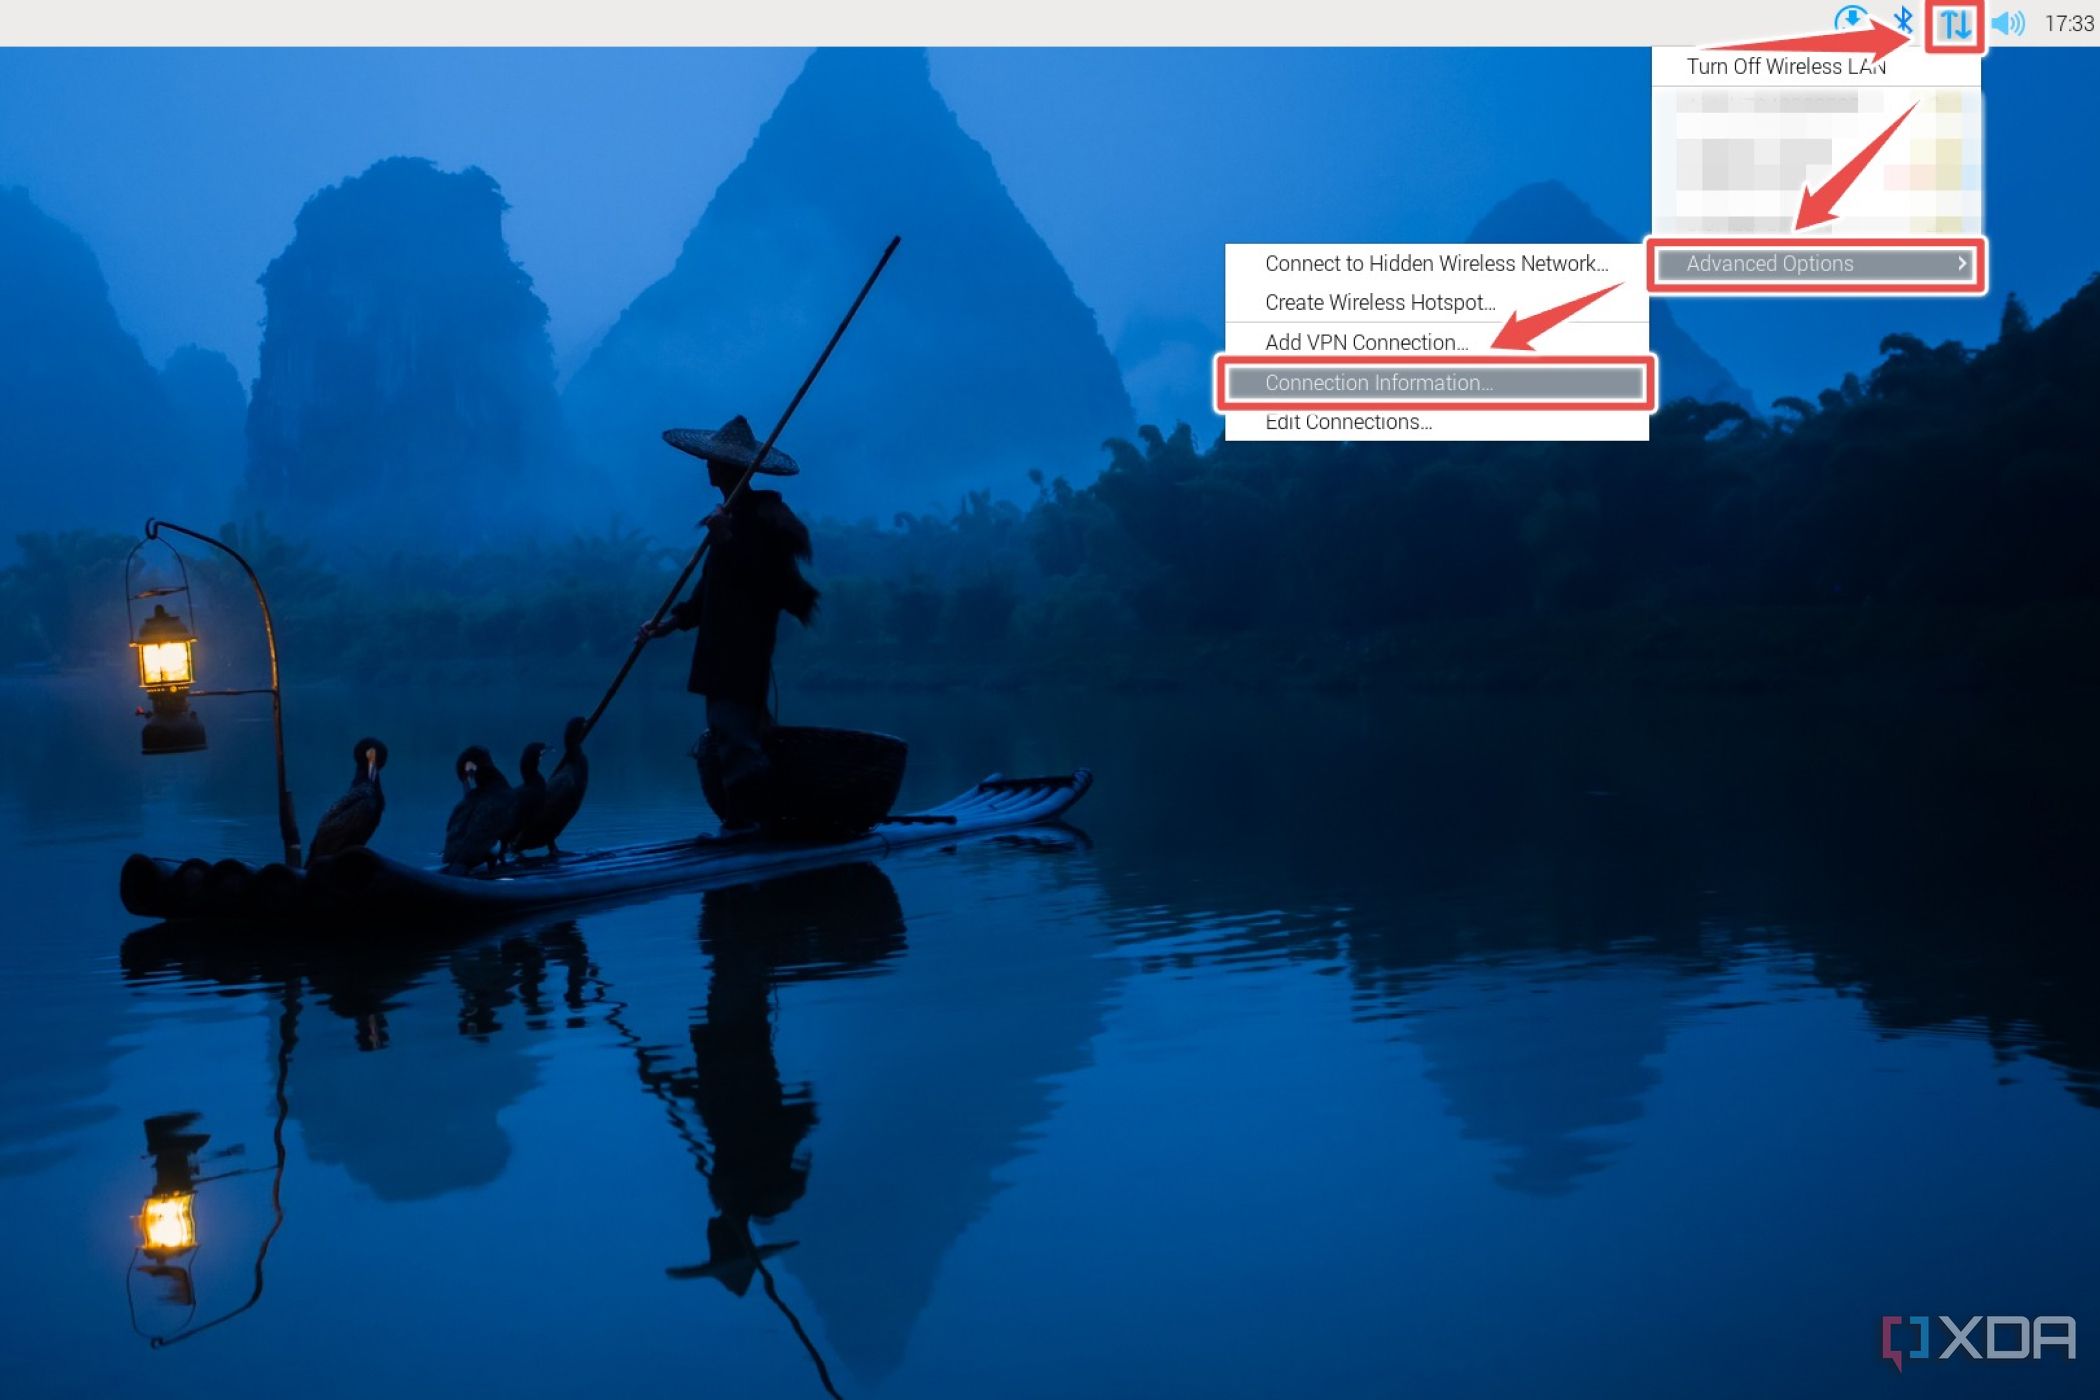
Step 3: Enable SSH for Remote Access
SSH (Secure Shell) allows you to remotely access your Raspberry Pi from another device. To enable it, simply type sudo raspi-config in the terminal, navigate to Interfacing Options, select SSH, and choose Enable. That’s it—you’re all set!
Best Practices for Securing Your Raspberry Pi
Securing your Raspberry Pi goes beyond just setting up a static IP address. Here are some best practices to keep your device safe:
Change Default Passwords
One of the easiest ways to secure your Pi is by changing the default password. The default username is pi, and the password is raspberry. To change it, type sudo passwd pi in the terminal and follow the prompts.
Install a Firewall
A firewall acts as a barrier between your Pi and potential threats. You can install one by typing sudo apt install ufw in the terminal. Once installed, enable it with sudo ufw enable.
Regularly Update Software
Keeping your software up to date is crucial for maintaining security. Regularly run sudo apt update and sudo apt upgrade to ensure you have the latest patches and updates.
Troubleshooting Common Issues
Even with the best intentions, things can sometimes go wrong. Here are some common issues you might encounter and how to fix them:
Issue: Unable to Connect to IP Address
If you’re having trouble connecting to your Pi’s IP address, double-check your configuration settings. Make sure the IP address, router, and DNS server values are correct. Also, ensure that SSH is enabled and that there are no firewall rules blocking your connection.
Issue: Slow Network Performance
Slow network performance can be frustrating, but it’s usually easy to fix. Try restarting your router or switching to a wired connection instead of Wi-Fi. If the problem persists, consider upgrading your network hardware.
Advanced Security Tips
For those who want to take their Raspberry Pi security to the next level, here are some advanced tips:
Use a VPN
A Virtual Private Network (VPN) encrypts your internet traffic, adding an extra layer of security. There are several VPN services available that work well with Raspberry Pi, so do some research and find one that suits your needs.
Monitor Your Logs
Regularly checking your system logs can help you catch potential security threats early. Use commands like sudo journalctl or sudo cat /var/log/auth.log to review login attempts and other activity on your Pi.
Real-World Applications of Securely Connecting Raspberry Pi
Now that you know how to securely connect your Raspberry Pi, let’s talk about some real-world applications. Here are a few examples of how people are using Raspberry Pi in innovative ways:
Home Automation
Many people use Raspberry Pi to create smart home systems. By securely connecting your Pi, you can control lights, thermostats, and other devices from anywhere in the world.
Web Servers
Raspberry Pi makes a great low-cost web server. With a secure connection, you can host websites or applications without worrying about security breaches.
Security Cameras
Turn your Raspberry Pi into a security camera system. By setting up a static IP address and enabling SSH, you can access your camera feed remotely and monitor your property from anywhere.
Conclusion
And there you have it—your ultimate guide to securely and directly connect Raspberry Pi IP address. By following the steps outlined in this article, you can ensure that your Raspberry Pi is safe, secure, and ready to take on whatever projects you throw its way.
Remember, securing your Pi isn’t a one-time thing—it’s an ongoing process. Stay vigilant, keep your software updated, and always be on the lookout for potential threats. With these tips, you’ll be well on your way to becoming a Raspberry Pi pro.
So, what are you waiting for? Grab your Pi, roll up your sleeves, and get started. And don’t forget to share your experiences and projects in the comments below—we’d love to hear from you!
Table of Contents
- Why Securely Connecting Your Raspberry Pi Matters
- Common Security Risks to Watch Out For
- Understanding Raspberry Pi IP Address Basics
- Static vs. Dynamic IP Addresses
- Steps to Securely Connect Raspberry Pi IP Address
- Step 1: Update Your Raspberry Pi
- Step 2: Configure a Static IP Address
- Step 3: Enable SSH for Remote Access
- Best Practices for Securing Your Raspberry Pi
- Change Default Passwords
- Install a Firewall
- Regularly Update Software
- Troubleshooting Common Issues
- Issue: Unable to Connect to IP Address
- Issue: Slow Network Performance
- Advanced Security Tips
- Use a VPN
- Monitor Your Logs
- Real-World Applications of Securely Connecting Raspberry Pi
- Home Automation
- Web Servers
- Security Cameras

Detail Author:
- Name : Prof. Hudson Kerluke
- Username : kian.rice
- Email : vernie62@hotmail.com
- Birthdate : 1999-10-26
- Address : 709 Ocie Bridge Suite 293 Vandervortstad, UT 23598
- Phone : 386-219-7310
- Company : Huel, Ernser and Hettinger
- Job : Landscape Architect
- Bio : Praesentium et repellat et ut. Nobis facere quisquam recusandae dolorem. Fugit consequatur quis quod aut.
Socials
twitter:
- url : https://twitter.com/warda
- username : warda
- bio : Veniam nesciunt nobis explicabo sed velit totam. Officia aspernatur non laborum. Voluptatum sint sequi est. Quaerat ut consectetur voluptate magni.
- followers : 3376
- following : 1399
linkedin:
- url : https://linkedin.com/in/alvaward
- username : alvaward
- bio : Laborum in laboriosam porro minima.
- followers : 2212
- following : 2694
