How To Access Raspberry Pi With Public IP: The Ultimate Guide
Accessing your Raspberry Pi through a public IP can transform your tiny device into a powerful tool for remote control, web hosting, or IoT projects. If you've ever wondered how to make your Raspberry Pi accessible from anywhere in the world, you're in the right place. In this guide, we'll break down the steps, tools, and best practices to achieve this without compromising security. Let's dive in, shall we?
Picture this: you're sitting in a café miles away from home, and suddenly you need to check something on your Raspberry Pi. Or maybe you want to set up a personal cloud server to access your files anytime, anywhere. By assigning a public IP to your Raspberry Pi, all of this becomes possible. But before we get too far ahead of ourselves, let's first understand why this is such a game-changer.
In today's tech-driven world, having remote access to your devices is no longer a luxury—it's a necessity. Whether you're a hobbyist, a developer, or someone who just wants to experiment with cool projects, knowing how to access Raspberry Pi with public IP is a skill that can open doors to endless possibilities. So, let's explore how you can make it happen without losing sleep over security or complexity.
- Kirsten Too Sweet Leaks The Inside Story You Need To Know
- Matt Czuchry Wife The Love Story Behind The Spotlight
Here’s a quick roadmap of what we’ll cover in this article:
- Understanding public IPs and their role in accessing Raspberry Pi
- Steps to configure your Raspberry Pi for remote access
- Security measures to keep your setup safe
- Troubleshooting common issues
What is a Public IP Address and Why Does It Matter?
A public IP address is like your Raspberry Pi's address on the internet. It's the unique identifier that allows devices from outside your local network to communicate with your Pi. Think of it as your home's mailing address, but instead of delivering letters, it delivers data packets. Without a public IP, your Raspberry Pi is stuck behind your router's firewall, making it inaccessible from the outside world.
Having a public IP matters because it enables remote access. Whether you're setting up a personal web server, running a Minecraft server, or controlling smart home devices, a public IP is your ticket to making all of this happen. But here's the catch—your router might not play nice out of the box. That's where things like port forwarding and dynamic DNS come into play, which we'll cover later in this guide.
- Aditi Mistry Hot New Live Your Ultimate Guide To The Rising Star
- Telugu Rulz 2025 Why The Telugu Entertainment Industry Is Set To Dominate
Why Access Raspberry Pi with Public IP?
There are tons of reasons why you'd want to access your Raspberry Pi remotely. Here are a few scenarios where having a public IP setup can be super useful:
- Remote File Access: Turn your Raspberry Pi into a personal cloud server and access your files from anywhere.
- Web Hosting: Set up a web server to host your personal website or blog.
- IoT Projects: Control smart home devices or monitor environmental sensors remotely.
- Development Environment: Use your Raspberry Pi as a remote development machine.
These are just the tip of the iceberg. Once you've got your Raspberry Pi set up with a public IP, the possibilities are limited only by your imagination. But hold up—before you rush to set everything up, let's talk about the tools and prerequisites you'll need.
Tools and Prerequisites for Accessing Raspberry Pi with Public IP
Before diving into the configuration process, make sure you have the following:
Hardware Requirements
First things first, you'll need a Raspberry Pi. Any model will do, but newer models like the Raspberry Pi 4 or 400 are recommended for better performance. You'll also need:
- A stable power supply for your Raspberry Pi
- An Ethernet cable or Wi-Fi adapter for internet connectivity
- A microSD card with Raspberry Pi OS installed
Software Requirements
On the software side, ensure your Raspberry Pi is running the latest version of Raspberry Pi OS. Additionally, you'll need the following:
- A terminal emulator (like PuTTY for Windows or Terminal for macOS/Linux)
- A dynamic DNS service (we'll discuss this later)
- Basic knowledge of Linux commands
With all the tools in place, let's move on to the configuration steps.
Step-by-Step Guide to Access Raspberry Pi with Public IP
Configuring your Raspberry Pi for public IP access involves several steps. Don't worry—it's not as complicated as it sounds. Let's break it down step by step:
Step 1: Determine Your Public IP Address
Your public IP address is the one assigned to you by your Internet Service Provider (ISP). To find it, simply type "What is my IP" in Google, and it'll show you your public IP address. Keep in mind that this address might change periodically, which is why dynamic DNS services are essential.
Step 2: Set Up Port Forwarding
Port forwarding is the process of directing incoming traffic from the internet to your Raspberry Pi. Here's how you do it:
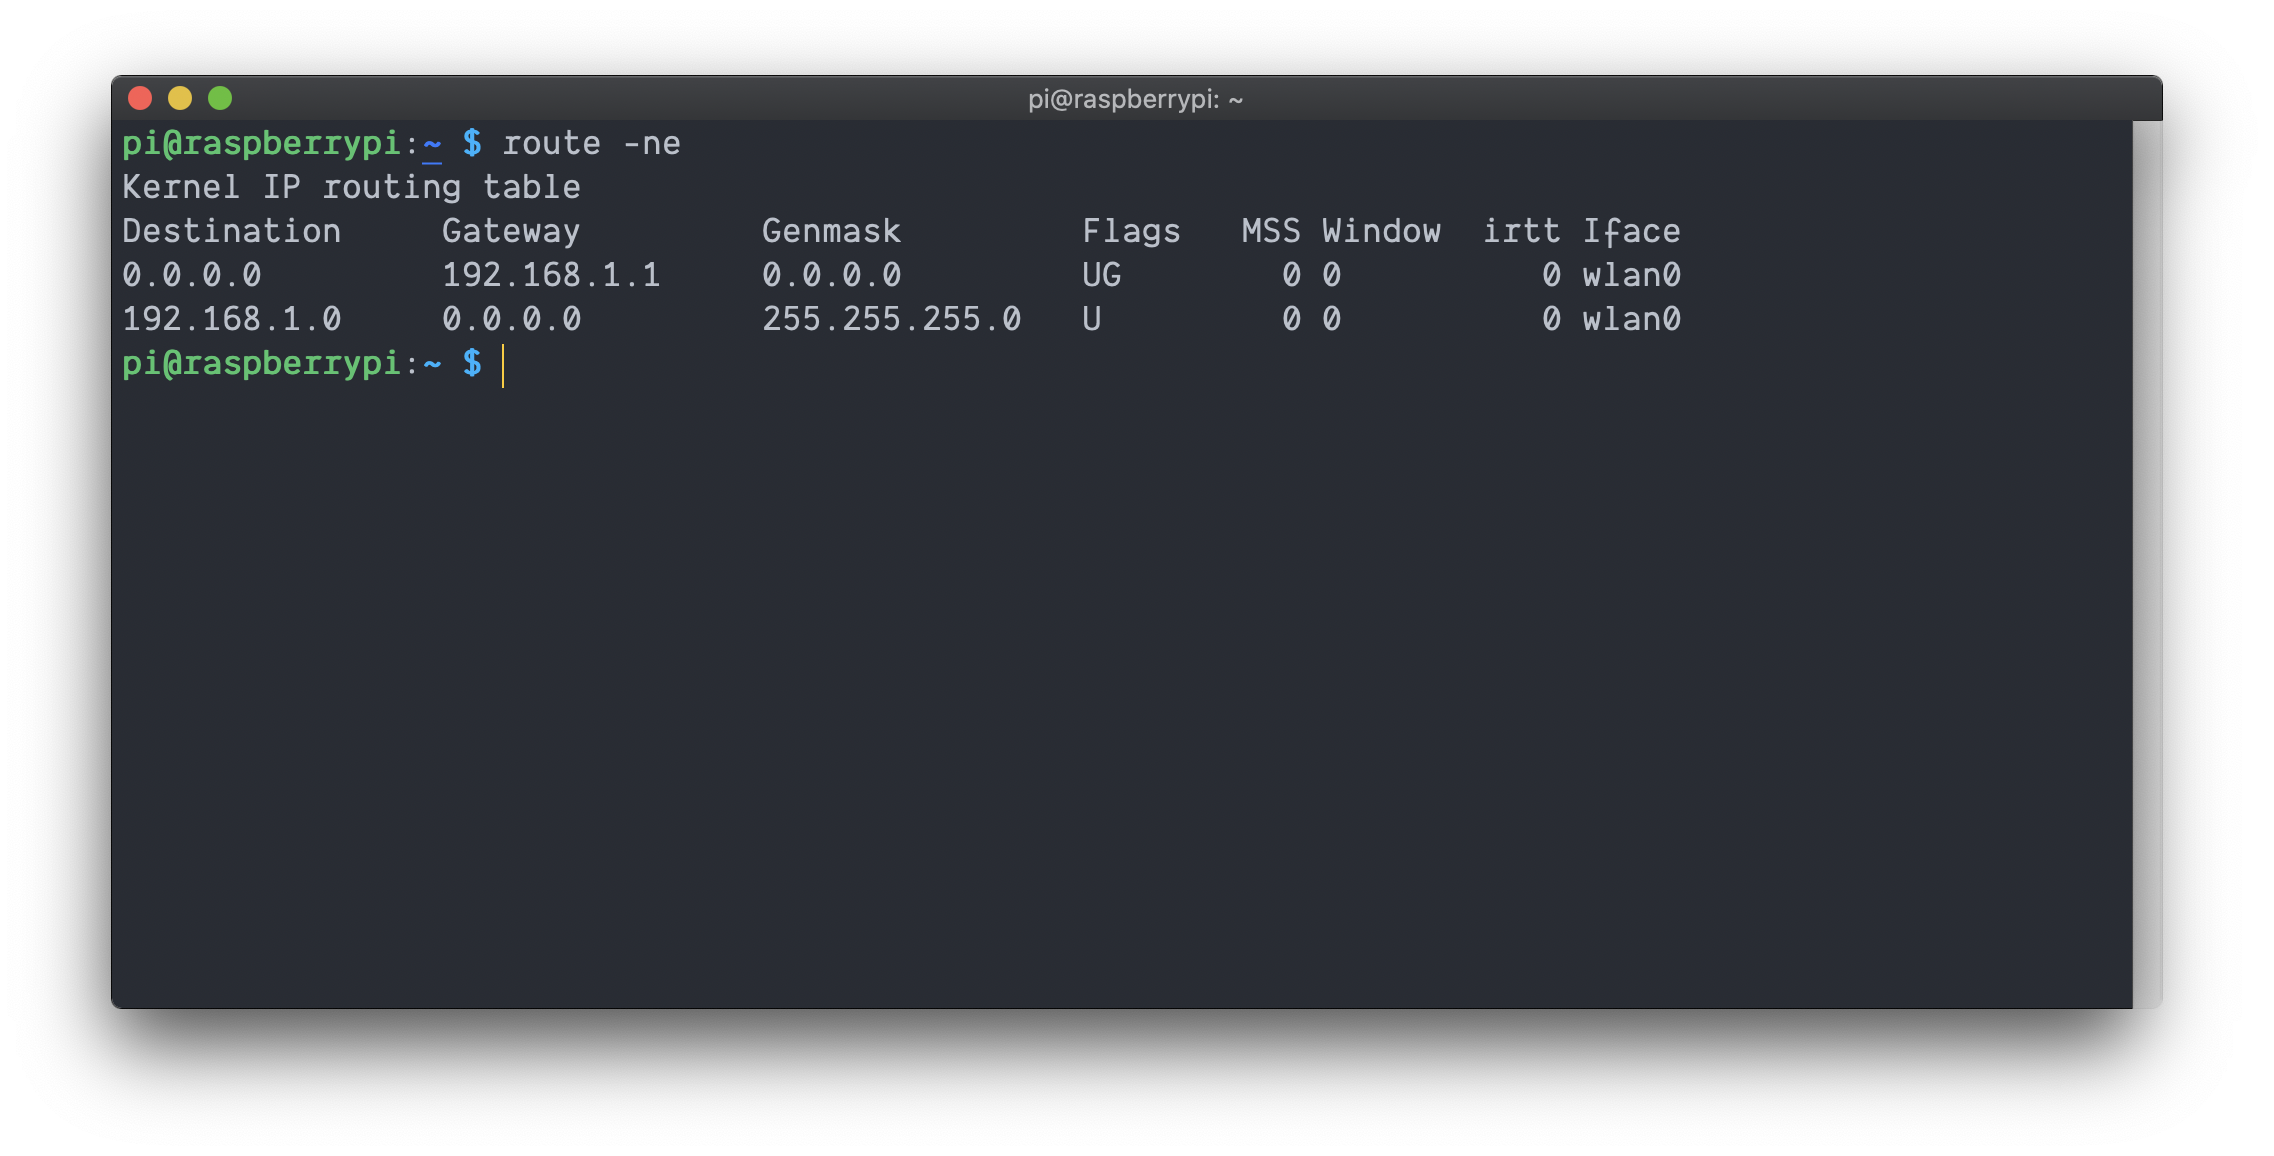
- Log in to your router's admin panel (usually at 192.168.0.1 or 192.168.1.1).
- Locate the port forwarding section and create a new rule.
- Set the external port and internal port to the same number (e.g., 22 for SSH).
- Enter your Raspberry Pi's local IP address as the destination.
Once you've set up port forwarding, your Raspberry Pi will be accessible from the outside world on the specified port.
Step 3: Configure SSH for Remote Access
SSH (Secure Shell) is the most common method for accessing Raspberry Pi remotely. To enable SSH:
- Open the Raspberry Pi Configuration tool by typing "sudo raspi-config" in the terminal.
- Navigate to "Interfacing Options" and enable SSH.
- Reboot your Raspberry Pi to apply the changes.
With SSH enabled, you can now connect to your Raspberry Pi from any device using its public IP address and the configured port.
Securing Your Raspberry Pi for Public Access
Security should always be a top priority when exposing your Raspberry Pi to the internet. Here are some tips to keep your setup safe:
- Change the Default SSH Port: Instead of using the default port 22, switch to a higher, less common port number.
- Use Strong Passwords: Avoid using simple or default passwords. Consider enabling passwordless authentication using SSH keys.
- Install a Firewall: Tools like UFW (Uncomplicated Firewall) can help restrict access to only necessary ports.
- Regularly Update Your System: Keep your Raspberry Pi OS and installed packages up to date to protect against vulnerabilities.
By following these best practices, you can minimize the risk of unauthorized access and keep your Raspberry Pi secure.
Dynamic DNS: Solving the IP Address Puzzle
As mentioned earlier, your public IP address might change periodically. This is where dynamic DNS (DDNS) services come in handy. DDNS allows you to assign a static hostname to your Raspberry Pi, even if your IP address changes.
Popular DDNS services include No-IP, DuckDNS, and Dynu. Most of these services offer free plans that are sufficient for personal use. Once you've signed up for a DDNS service, follow these steps:
- Install the DDNS client on your Raspberry Pi.
- Configure the client to update your hostname whenever your IP address changes.
- Test the setup by pinging your hostname from another device.
With DDNS in place, you'll always have a reliable way to access your Raspberry Pi, no matter what your public IP is.
Troubleshooting Common Issues
Even with careful planning, things can sometimes go wrong. Here are some common issues you might encounter and how to fix them:
- Unable to Connect via SSH: Double-check your port forwarding settings and ensure SSH is enabled on your Raspberry Pi.
- Changing Public IP Address: If your IP changes unexpectedly, update your DDNS client or consider upgrading to a static IP from your ISP.
- Firewall Blocking Connections: Verify that your firewall rules allow traffic on the necessary ports.
If you're still stuck, don't hesitate to reach out to online communities or forums for help. The Raspberry Pi community is incredibly supportive and always willing to lend a hand.
Real-World Applications of Public IP Access
Now that you know how to access Raspberry Pi with public IP, let's explore some real-world applications:
- Remote Monitoring: Set up a Raspberry Pi as a security camera or weather station and monitor it from anywhere.
- Personal Cloud Storage: Use your Raspberry Pi as a NAS (Network Attached Storage) device for storing and sharing files.
- Web Development: Host your personal website or blog on your Raspberry Pi and share it with the world.
The versatility of Raspberry Pi combined with public IP access makes it an invaluable tool for countless projects. The only limit is your creativity!
Final Thoughts and Next Steps
Accessing Raspberry Pi with public IP opens up a world of possibilities for remote control, automation, and creativity. By following the steps outlined in this guide, you can set up your Raspberry Pi for public access while keeping it secure and reliable.
Remember, the key to success lies in understanding the tools, implementing best practices, and staying vigilant about security. Whether you're building a personal cloud, hosting a website, or controlling smart home devices, your Raspberry Pi is now ready to take on the world.
So, what are you waiting for? Grab your Raspberry Pi, roll up your sleeves, and start exploring the endless possibilities. And don't forget to share your experiences, tips, and tricks in the comments below. Happy tinkering!

Detail Author:
- Name : Michaela Hickle
- Username : kiehn.evangeline
- Email : evert.spinka@cummings.info
- Birthdate : 1997-02-14
- Address : 402 Bode Meadows West Brendabury, DC 11826-1475
- Phone : +1-205-481-0864
- Company : Fritsch Inc
- Job : Welder and Cutter
- Bio : Voluptas est assumenda id ea debitis. Accusamus iste quod harum ipsa. Aperiam eveniet labore veniam qui non hic. Porro minus sed ut rerum voluptatem voluptas.
Socials
tiktok:
- url : https://tiktok.com/@trogahn
- username : trogahn
- bio : Cumque sint mollitia omnis modi atque.
- followers : 2043
- following : 982
instagram:
- url : https://instagram.com/terrellrogahn
- username : terrellrogahn
- bio : Voluptas nesciunt quia occaecati aut reprehenderit. Veritatis omnis non unde est vero.
- followers : 1601
- following : 1590
linkedin:
- url : https://linkedin.com/in/terrell_rogahn
- username : terrell_rogahn
- bio : Harum eveniet ad et molestiae minima et.
- followers : 1598
- following : 732
twitter:
- url : https://twitter.com/rogahnt
- username : rogahnt
- bio : Ea omnis eveniet qui omnis consequatur. Qui minus dolorem in et vitae eveniet ex. Minus aliquid iste vero ut similique aut. Quia provident quia quod dolorum.
- followers : 3552
- following : 686
