Access Raspberry Pi Remotely Via VPN: Your Ultimate Guide
So, you've got yourself a Raspberry Pi and now you're wondering how to access it from anywhere in the world? Yeah, we’ve all been there. Imagine being able to control your little Pi device from thousands of miles away like some kind of tech wizard. Well, buckle up, because today we’re diving deep into the world of remote access through a secure and reliable method—using a **VPN**. Whether you're setting up a home server, running a media center, or just geeking out with IoT projects, this guide will show you how to do it right.
But first, let’s address the elephant in the room: Why use a VPN? Well, my friend, security is the name of the game. Exposing your Raspberry Pi directly to the internet can be risky business. Hackers could potentially exploit vulnerabilities and gain unauthorized access to your system. A VPN acts as a protective shield, encrypting your data and keeping prying eyes at bay. Sounds good, right? Let’s keep going.
Now, before we jump into the nitty-gritty details, let me just say that this guide is designed for beginners and pros alike. We’ll cover everything from setting up your Raspberry Pi to configuring your VPN, troubleshooting common issues, and even some advanced tips. By the end of this article, you’ll have all the tools you need to access your Raspberry Pi remotely like a pro. So, without further ado, let’s get started!
- Filmy Fly2025 Your Ultimate Guide To The Latest Buzz In Aviation
- Why Masahublive Is Revolutionizing Online Experiences
Table of Contents
- What is a VPN?
- Setting Up Your Raspberry Pi
- Choosing the Right VPN
- Installing a VPN on Raspberry Pi
- Accessing Raspberry Pi Remotely
- Security Tips for Remote Access
- Troubleshooting Common Issues
- Advanced Configuration
- Real-World Use Cases
- Conclusion and Next Steps
What is a VPN?
Alright, let’s break it down. A Virtual Private Network (VPN) is essentially a secure tunnel that connects your device to another network over the internet. It encrypts your data, making it almost impossible for anyone to intercept or snoop on your activities. For our purposes, a VPN allows us to access our Raspberry Pi remotely while keeping everything secure. Cool, right?
Why Use a VPN for Raspberry Pi?
Here’s the deal: exposing your Raspberry Pi directly to the internet can open up a can of worms. Hackers love devices that are poorly secured, and if your Pi is connected directly, it becomes an easy target. A VPN solves this problem by creating a private, encrypted connection between your device and your Pi. This way, even if someone tries to intercept your data, they won’t be able to make sense of it.
Plus, using a VPN gives you the flexibility to access your Pi from anywhere in the world, as long as you have an internet connection. No need to worry about firewalls, port forwarding, or other complicated setups. It’s a win-win situation.
- Aditi Mistry New Hot Video The Truth Behind The Viral Sensation
- Aditi Misty Live Videos The Ultimate Guide To Her Journey Talent And Viral Moments
Setting Up Your Raspberry Pi
Before we dive into the VPN setup, let’s make sure your Raspberry Pi is ready to roll. Here’s a quick checklist to ensure everything is set up properly:
- Install the latest version of Raspberry Pi OS on your SD card.
- Connect your Raspberry Pi to your local network via Wi-Fi or Ethernet.
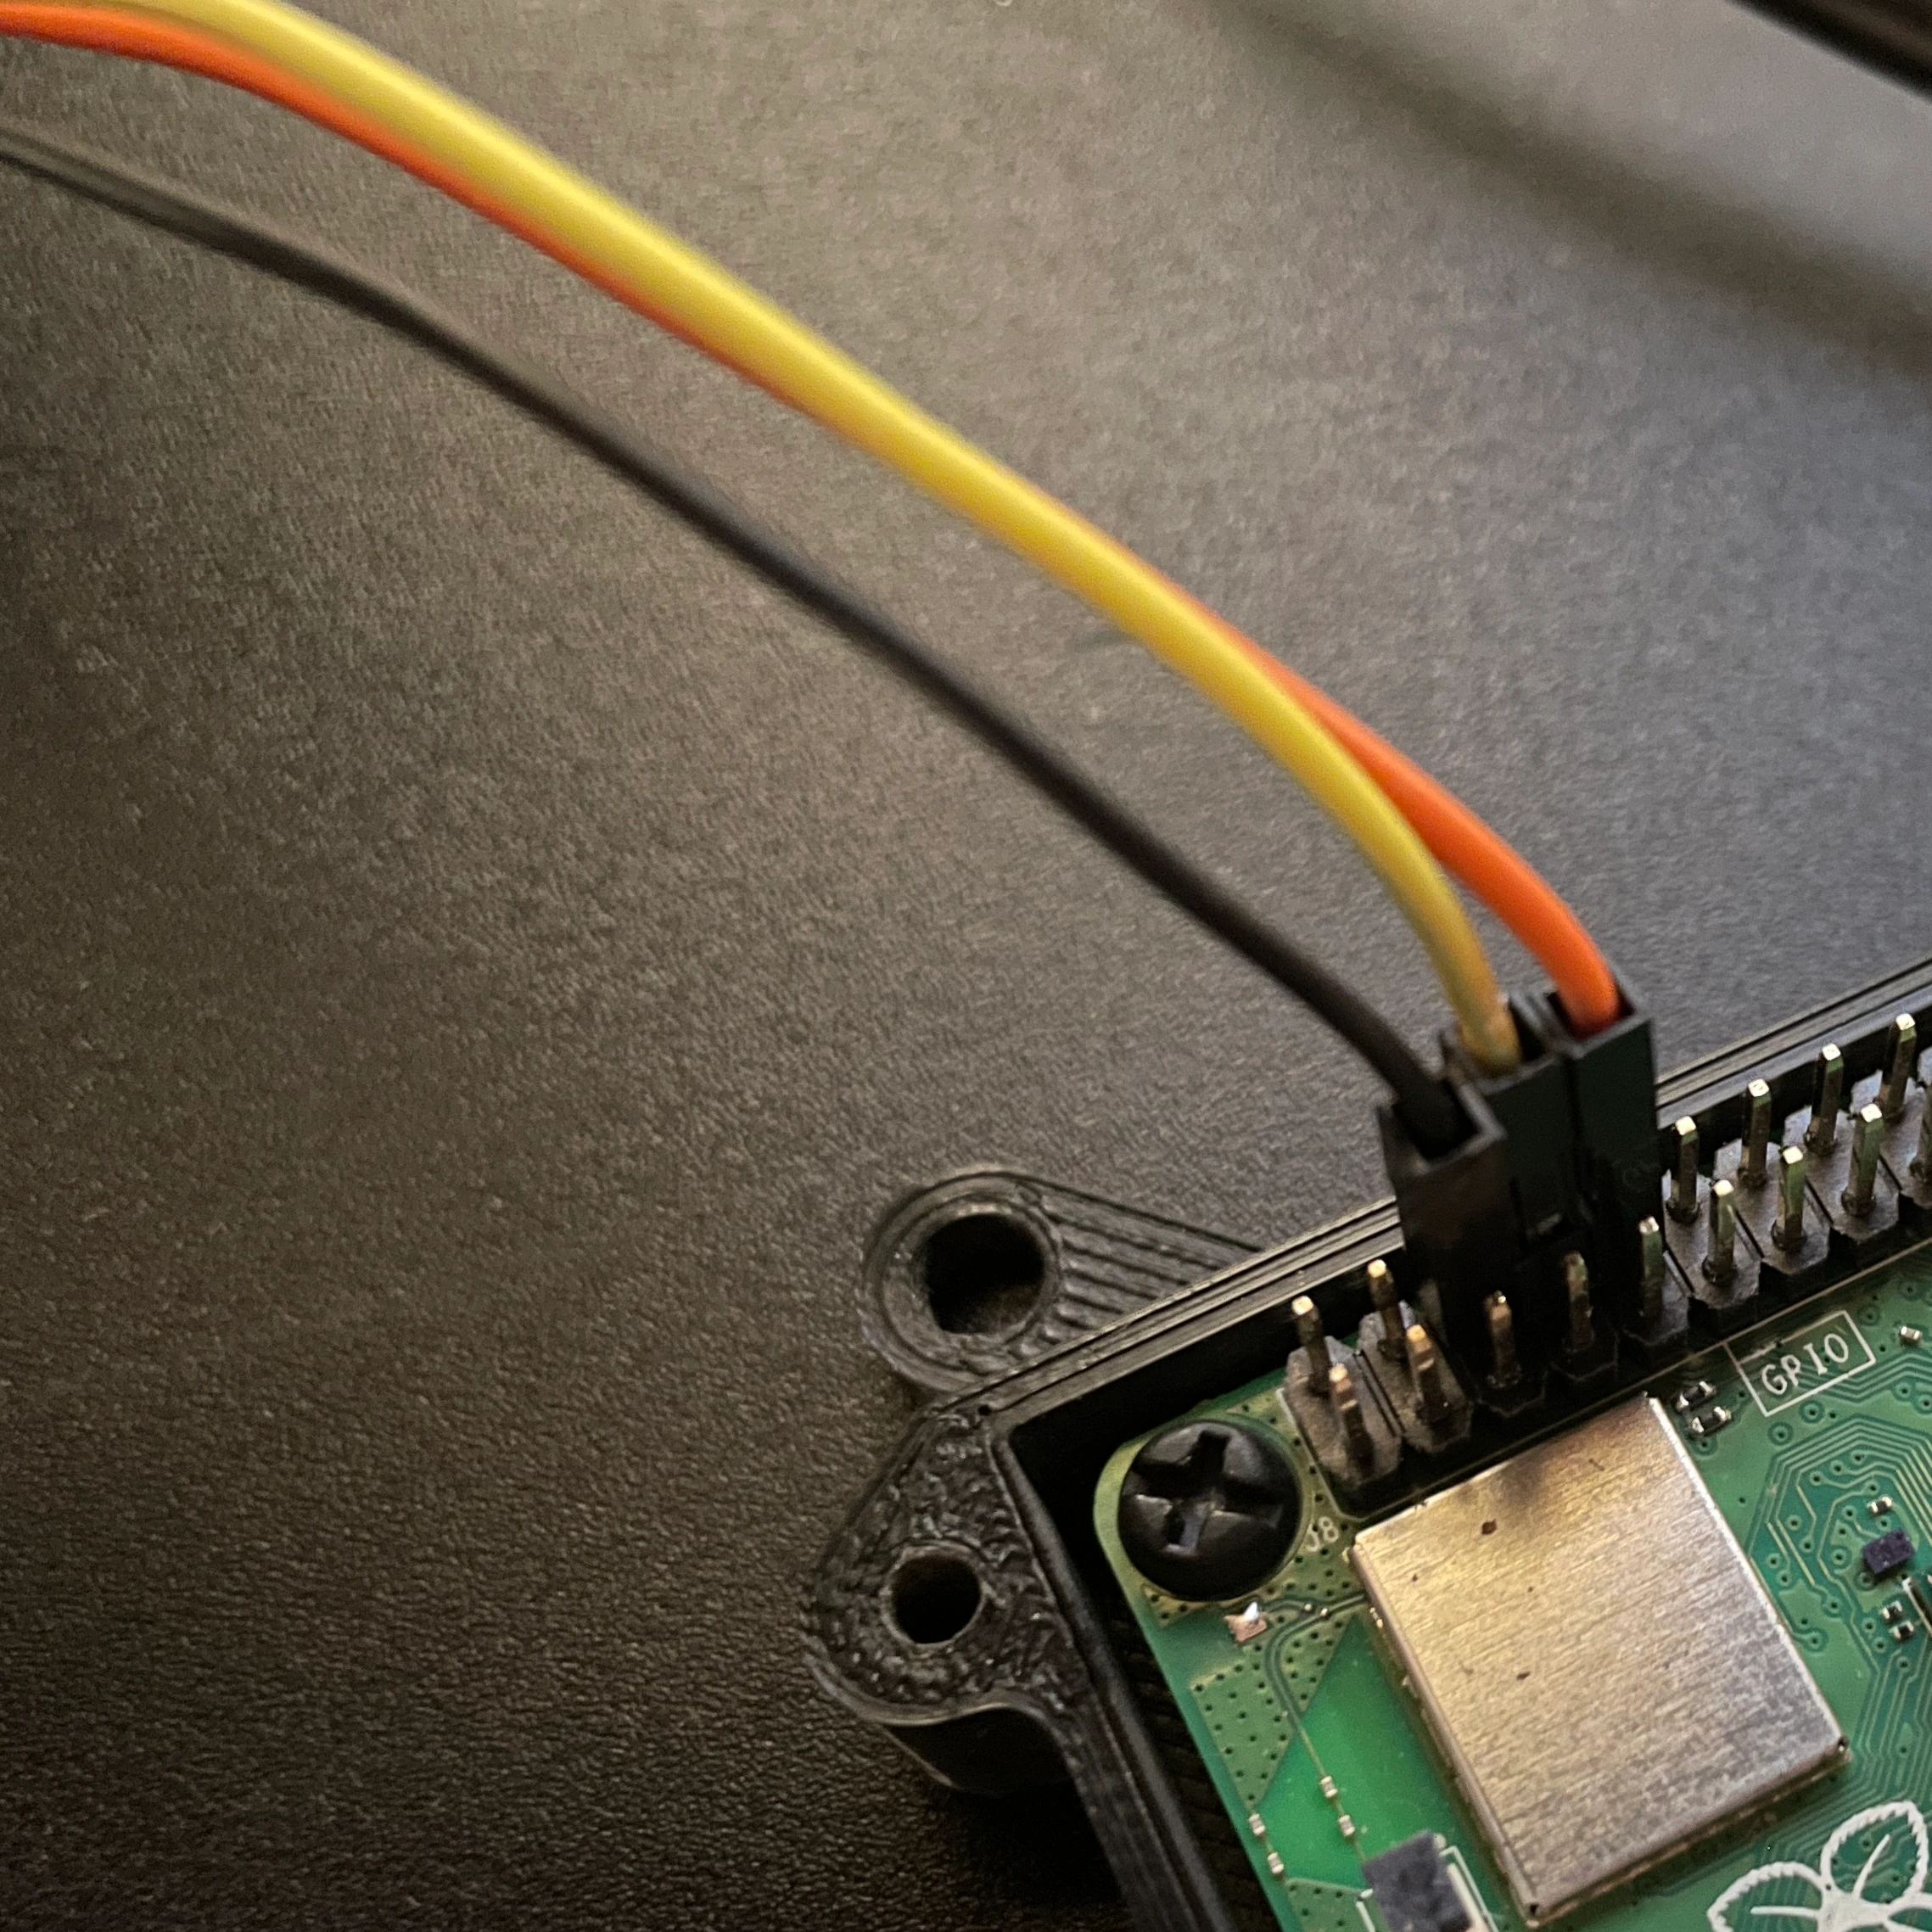
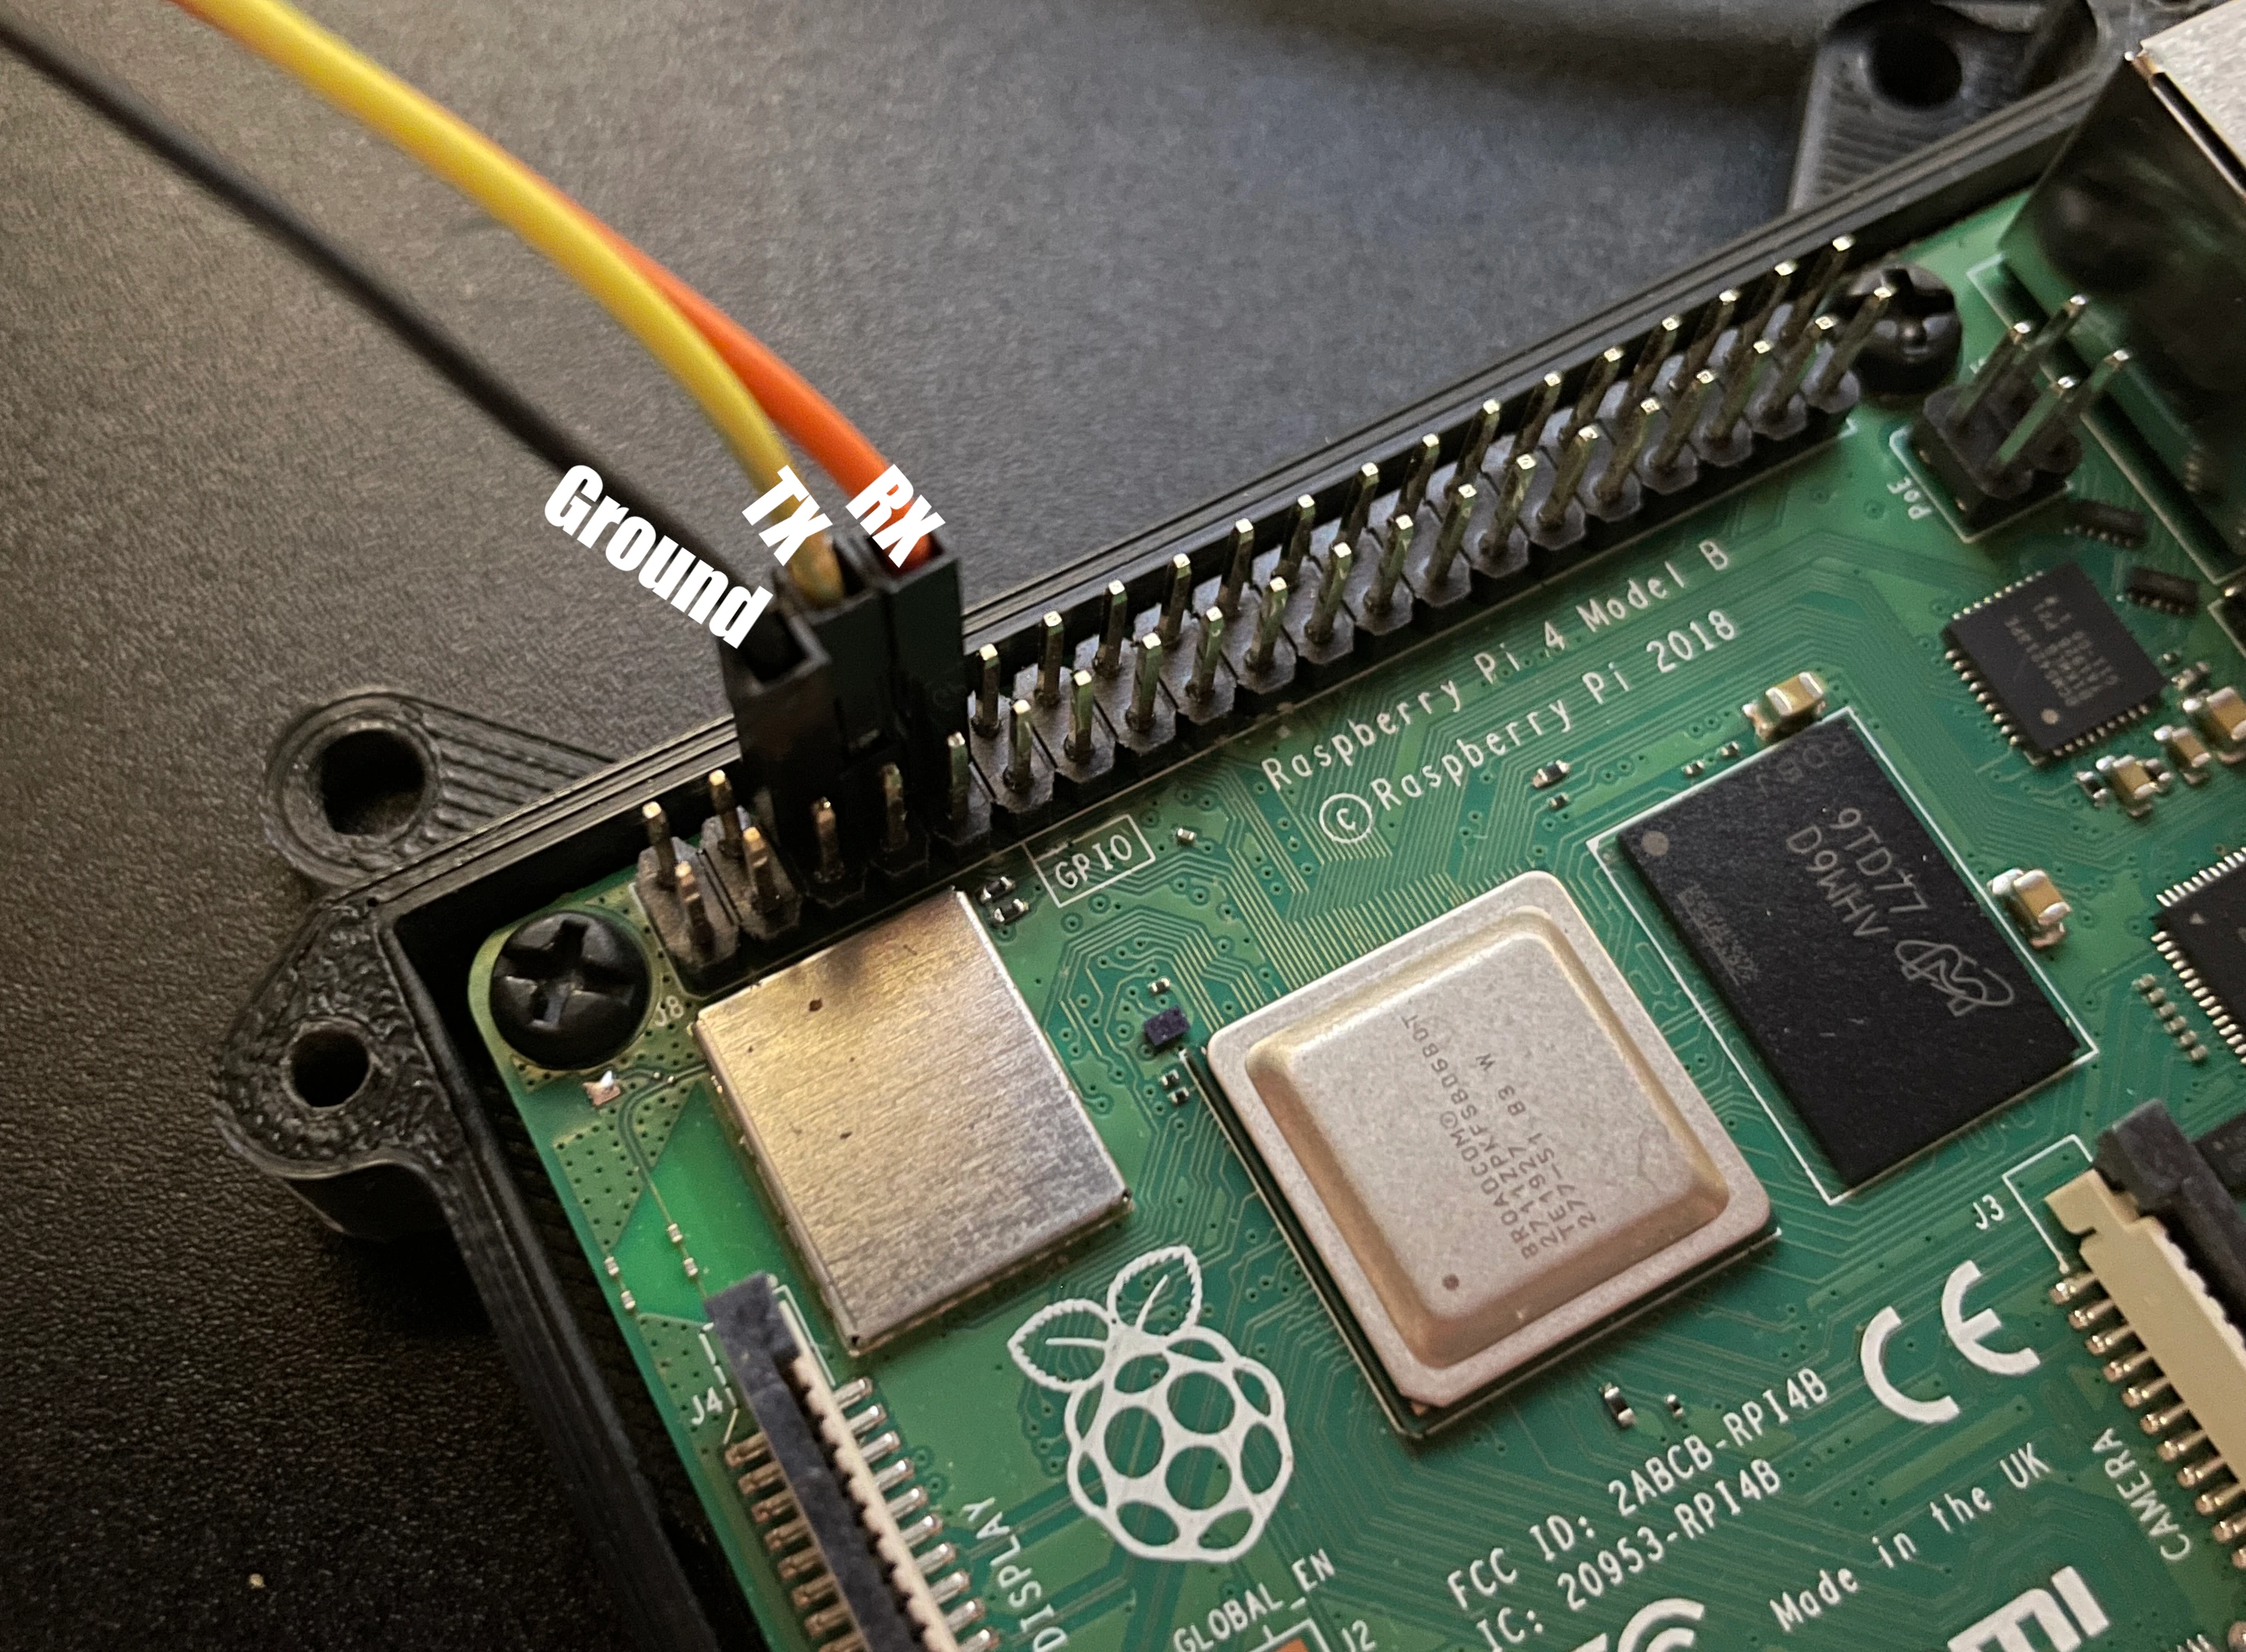
- Set up SSH (Secure Shell) for remote access. You can enable SSH from the Raspberry Pi Configuration tool.
- Update your system by running `sudo apt update` and `sudo apt upgrade` in the terminal.
- Take note of your Raspberry Pi’s IP address. You’ll need this later.
Once you’ve completed these steps, your Raspberry Pi is ready for the next phase: installing a VPN.
Choosing the Right VPN
Not all VPNs are created equal, especially when it comes to Raspberry Pi. You’ll want to choose a provider that offers compatibility with Linux-based systems, has a good reputation for security, and provides fast and reliable connections. Here are a few options worth considering:
- ProtonVPN: Known for its strong focus on privacy and security, ProtonVPN offers a free tier with decent speeds. It’s also easy to set up on Raspberry Pi.
- NordVPN: One of the most popular VPNs out there, NordVPN offers advanced features like double encryption and a kill switch. It’s a bit pricier, but worth it for heavy users.
- PIA (Private Internet Access): PIA is another solid choice, offering fast speeds and easy setup. Plus, they have a generous 30-day money-back guarantee.
When choosing a VPN, consider factors like pricing, server locations, and customer support. Do your research and pick the one that best fits your needs.
What to Look for in a VPN
Here are a few key features to keep in mind when selecting a VPN for your Raspberry Pi:
- Linux Compatibility: Make sure the VPN supports Linux-based systems. Most reputable providers do, but it’s always good to double-check.
- Security Protocols: Look for a VPN that uses strong encryption protocols like OpenVPN or WireGuard.
- Speed: If you plan to stream media or transfer large files, speed is crucial. Test the VPN’s performance before committing.
- Customer Support: In case you run into issues, having access to reliable customer support can be a lifesaver.
Installing a VPN on Raspberry Pi
Now that you’ve chosen your VPN, it’s time to install it on your Raspberry Pi. The process may vary slightly depending on the provider, but here’s a general outline of the steps:
- Log in to your Raspberry Pi via SSH or directly using a monitor and keyboard.
- Download the VPN client or configuration files from the provider’s website.
- Follow the installation instructions provided by the VPN service. This usually involves running a few commands in the terminal.
- Once installed, configure the settings to connect to the desired server location.
- Test the connection to ensure everything is working properly.
For example, if you’re using ProtonVPN, you can install it by running the following commands:
sudo apt update && sudo apt upgrade -y
curl -O https://install.protonvpn.com/ovpn/protonvpn-stable-release_1.0.0-1_all.deb
sudo dpkg -i protonvpn-stable-release_1.0.0-1_all.deb
sudo apt update
sudo apt install protonvpn
After installation, you can connect to a server using the `protonvpn-cli` command. Easy peasy, right?
Configuring the VPN
Once the VPN is installed, you’ll need to configure it to work seamlessly with your Raspberry Pi. Here are a few tips:
- Choose a server location that’s geographically close to you for better performance.
- Set up a kill switch to prevent accidental exposure if the connection drops.
- Test the connection speed to ensure it meets your requirements.
Accessing Raspberry Pi Remotely
With the VPN set up and running, you’re now ready to access your Raspberry Pi remotely. Here’s how you can do it:
- Connect to your VPN from your remote device.
- Use an SSH client like PuTTY (Windows) or Terminal (Mac/Linux) to connect to your Raspberry Pi’s IP address.
- Enter your login credentials when prompted.
- Voilà! You’re now accessing your Raspberry Pi remotely through a secure connection.
Pro tip: Consider setting up a dynamic DNS service if your home network’s IP address changes frequently. This will make it easier to connect to your Pi without having to memorize IP addresses.
Using VNC for GUI Access
If you prefer a graphical interface, you can use VNC (Virtual Network Computing) to access your Raspberry Pi remotely. Here’s how:
- Install the VNC server on your Raspberry Pi by running `sudo apt install realvnc-vnc-server`.
- Enable VNC from the Raspberry Pi Configuration tool.
- Download and install a VNC client on your remote device.
- Connect to your Raspberry Pi’s IP address using the VNC client.
With VNC, you’ll have full control over your Pi’s desktop environment, just as if you were sitting right in front of it.
Security Tips for Remote Access
While using a VPN significantly enhances security, there are a few additional steps you can take to further protect your Raspberry Pi:
- Use Strong Passwords: Avoid using simple or easily guessable passwords. Consider using a password manager to generate and store complex passwords.
- Enable Two-Factor Authentication (2FA): If your SSH client supports it, enable 2FA for an extra layer of security.
- Regularly Update Your System: Keep your Raspberry Pi’s software up to date to patch any security vulnerabilities.
- Monitor Activity Logs: Keep an eye on your system logs to detect any suspicious activity.
By following these tips, you’ll ensure that your Raspberry Pi remains secure even when accessed remotely.
Common Security Pitfalls to Avoid
Here are a few mistakes to watch out for:
- Exposing your Raspberry Pi directly to the internet without a firewall or VPN.
- Using default passwords or leaving unnecessary services running.
- Ignoring software updates and security patches.
Stay vigilant, and your Pi will thank you for it.
Troubleshooting Common Issues
Even with the best setup, things can go wrong sometimes. Here are a few common issues you might encounter and how to fix them:
- Can’t Connect to the VPN: Double-check your credentials and ensure the server is up and running. Try switching to a different server location.
- Slow Connection Speeds: Choose a server closer to your location or switch to a faster protocol like WireGuard.
- SSH Connection Refused: Make sure SSH is enabled on your Raspberry Pi and that your firewall rules allow incoming connections.
If you’re still stuck, don’t hesitate to reach out to your VPN provider’s support team for assistance.
Advanced Troubleshooting
For those who want to dig deeper, here are a few advanced troubleshooting tips:
- Use tools like `ping` and `traceroute` to diagnose network issues.
- Check your Raspberry Pi’s system logs for error messages using `sudo journalctl`.
- Consider setting up a static IP address for your Pi to avoid connectivity issues.
Advanced Configuration
Once you’ve mastered the basics, you can explore some advanced configuration options to further enhance your setup:
- Port Forwarding: Set up port forwarding on your router to allow incoming connections to your Raspberry Pi.
- Custom Firewall Rules: Configure iptables to restrict access to specific ports and IP addresses.
- Automated Backups: Set up automated backups to ensure your data is safe in case something goes wrong.
These advanced features can help you fine-tune your Raspberry Pi setup for maximum efficiency and security.
Real-World Use Cases
Now that you know how to access your Raspberry Pi remotely via a VPN, here are a few real-world use cases:
- Home Automation: Control your smart home devices from anywhere in the world.

Detail Author:
- Name : Dr. Josie Bogisich DDS
- Username : zgraham
- Email : xtreutel@schaden.com
- Birthdate : 2000-09-12
- Address : 41756 Isobel Viaduct Port Judahport, DE 61039-2217
- Phone : 220.239.2510
- Company : Fahey Inc
- Job : Homeland Security
- Bio : Voluptate repellat consequatur ipsum similique sunt voluptas. Qui qui est hic ut voluptas dolorem repellat. Omnis quas earum eveniet quia et.
Socials
linkedin:
- url : https://linkedin.com/in/sabryna3291
- username : sabryna3291
- bio : Qui perspiciatis et iste animi sequi adipisci.
- followers : 2263
- following : 1222
instagram:
- url : https://instagram.com/sabrynamarvin
- username : sabrynamarvin
- bio : Nobis et aperiam ducimus molestiae. Ut sit occaecati ut est nam et et.
- followers : 1710
- following : 2882
twitter:
- url : https://twitter.com/smarvin
- username : smarvin
- bio : Possimus consequatur voluptatum fuga occaecati. Doloremque id debitis placeat rem neque. Enim atque est id quae numquam. Aliquam aliquid et illum.
- followers : 5128
- following : 2385
