How To Remote Connect To Raspberry Pi: The Ultimate Guide For Tech Enthusiasts
Alright, listen up, folks. If you're diving into the world of Raspberry Pi and looking to level up your skills, learning how to remote connect to Raspberry Pi is like unlocking a superpower. Imagine being able to access your Pi from anywhere in the world, whether you're chilling at home or sipping coffee in a distant café. Sounds pretty sweet, right? Well, buckle up because we're about to break it down for you in a way that’s both easy to digest and packed with actionable insights.
This isn't just some random guide; it's your go-to resource for mastering remote connections. We'll cover everything from the basics to advanced techniques, ensuring you're equipped with all the tools you need. Whether you're a newbie or a seasoned pro, this article will help you streamline your workflow and enhance your experience with Raspberry Pi.
Let's face it, tech can be intimidating, but don't worry—we've got your back. Our goal is to make this process as smooth as butter. So, grab your favorite beverage, and let's dive into the world of remote connectivity. Trust me, by the end of this, you'll be connecting to your Raspberry Pi like a pro. No sweat, no stress, just pure tech wizardry.
- Joey King Non Binary A Deep Dive Into The Stars Journey And Identity
- Hdhub4u The Ultimate Destination For Movie Enthusiasts
Understanding the Basics of Raspberry Pi
What is Raspberry Pi?
First things first, let’s talk about what Raspberry Pi actually is. It’s not just some fancy gadget; it’s a mini-computer that packs a punch. Designed to be affordable and accessible, Raspberry Pi has become a favorite among hobbyists, educators, and tech enthusiasts alike. But here's the kicker—it’s not just a toy; it’s a powerful tool capable of running everything from media centers to home automation systems.
Now, why would you want to remote connect to Raspberry Pi? Simple. It gives you flexibility. Imagine setting up a server at home and accessing it from work. Or maybe you've got a weather station in your backyard and want to check the data while you're on vacation. The possibilities are endless, and the convenience is unmatched.
Why Remote Connect to Raspberry Pi?
Let’s be real, convenience is king. When you remote connect to Raspberry Pi, you’re essentially giving yourself the freedom to work from anywhere. No more being tethered to your desk or carrying around bulky equipment. Plus, it’s a great way to monitor and manage your projects without having to physically be there. Whether you're troubleshooting or just keeping an eye on things, remote access makes life so much easier.
- Matt Czuchry Wife The Love Story Behind The Spotlight
- Fry99com The Ultimate Guide To Online Gaming And Entertainment
But wait, there’s more. Remote connectivity also enhances security. By setting up secure connections, you can protect your data and ensure that only authorized users have access. In today’s digital age, where cyber threats are on the rise, this is more important than ever. So, not only are you gaining convenience, but you're also beefing up your security game.
Setting Up Your Raspberry Pi for Remote Access
Step-by-Step Guide to Preparation
Before you can start remote connect to Raspberry Pi, you need to set it up properly. Here’s a quick rundown of what you’ll need to do:
- Install the latest version of Raspberry Pi OS.
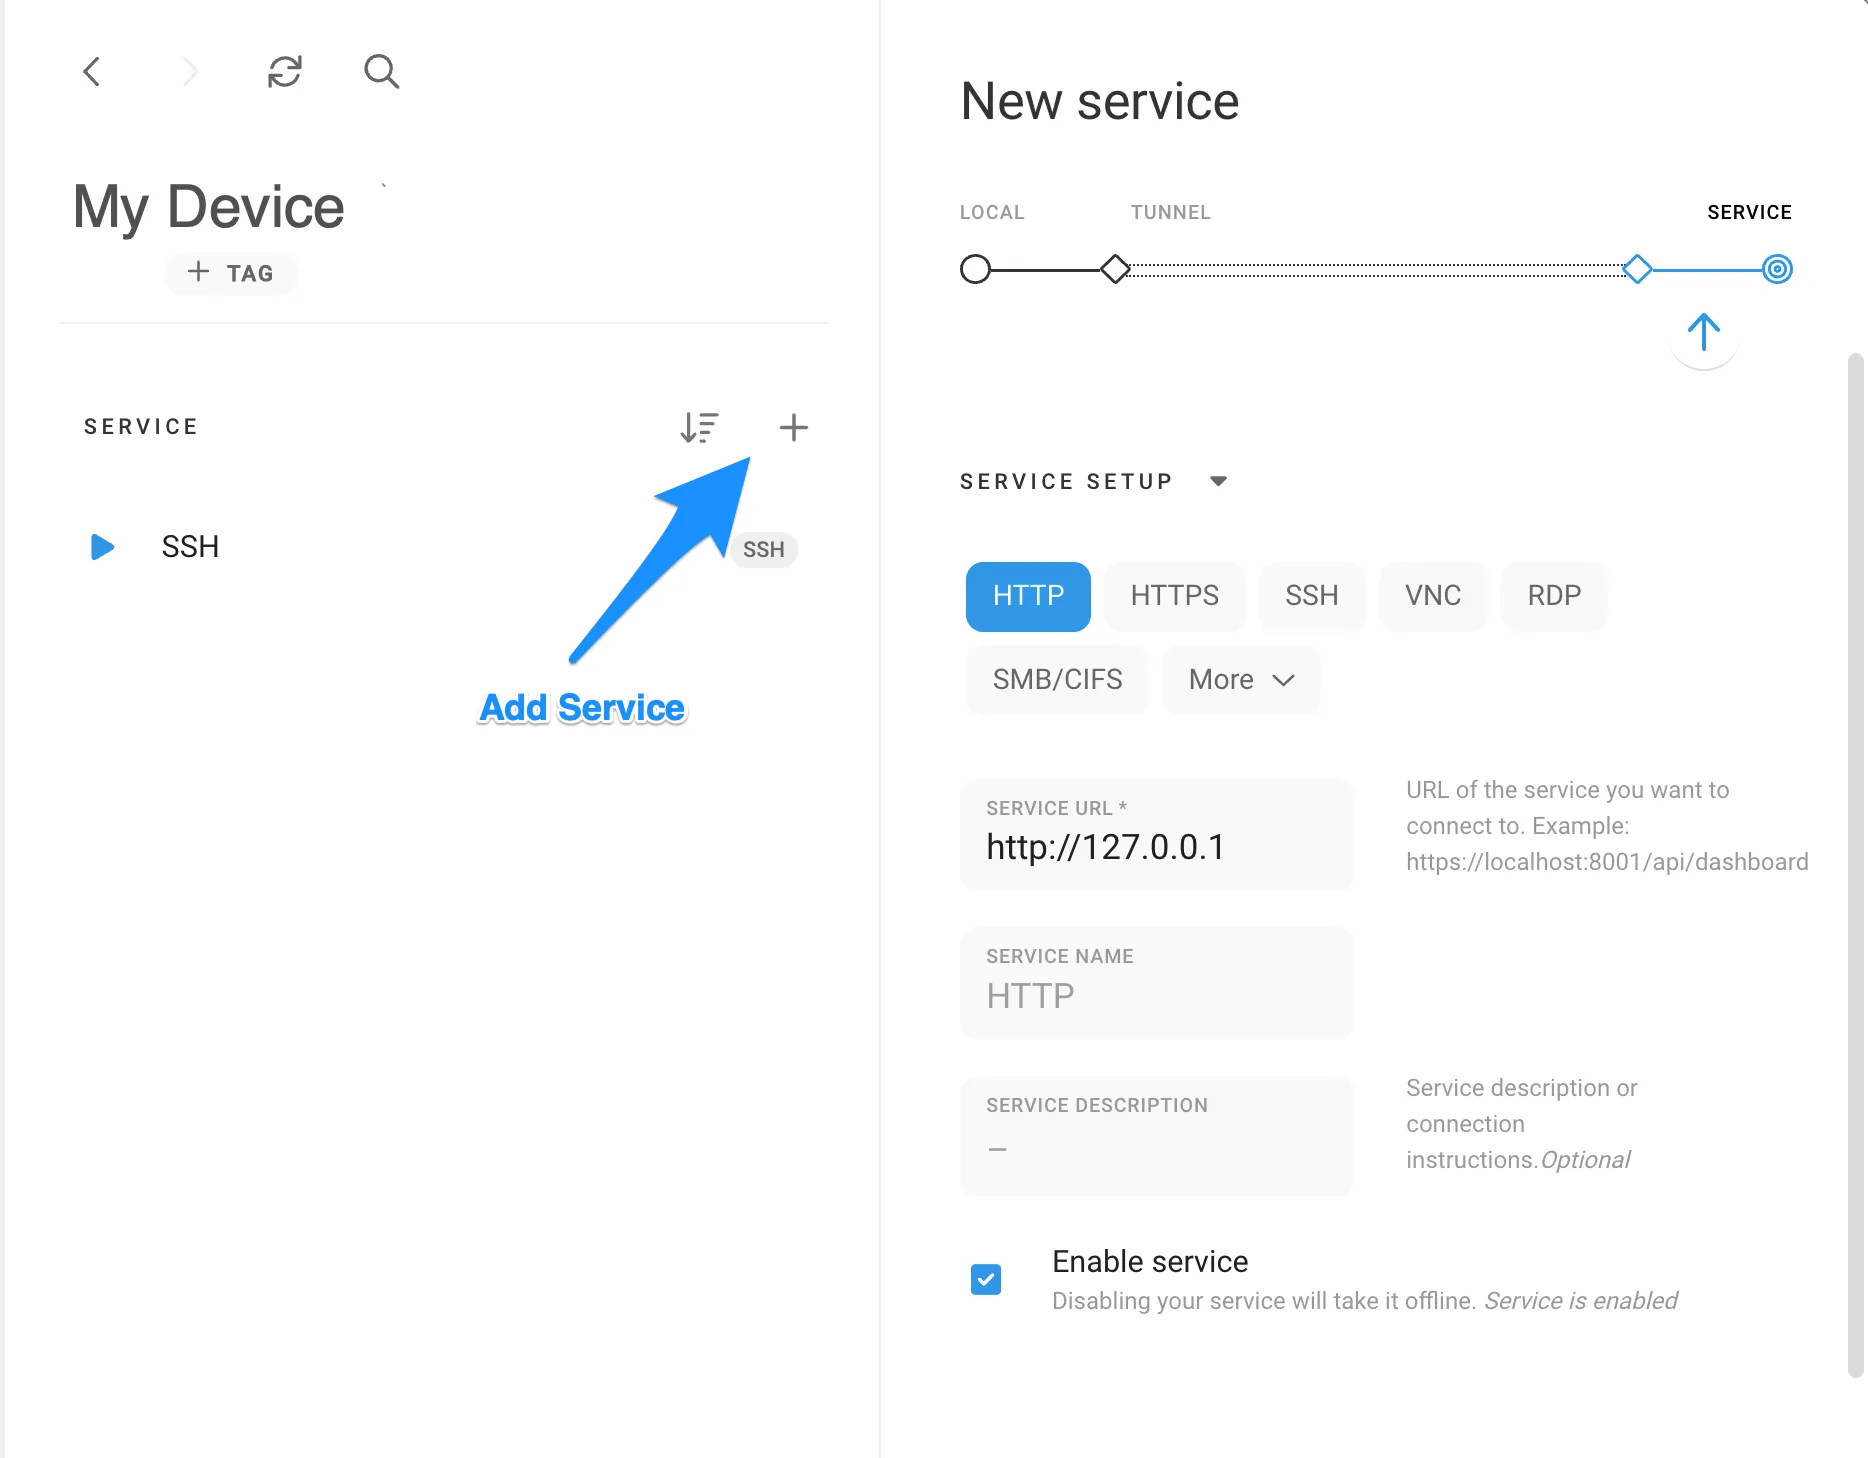
- Enable SSH (Secure Shell) on your Pi.
- Set up a static IP address for your Pi.
- Configure your router to forward the necessary ports.
Don’t worry if some of these terms sound foreign. We’ll break them down step by step so you can follow along without any hassle. The key here is to ensure that your Pi is ready to accept remote connections securely and efficiently.
Enabling SSH on Raspberry Pi
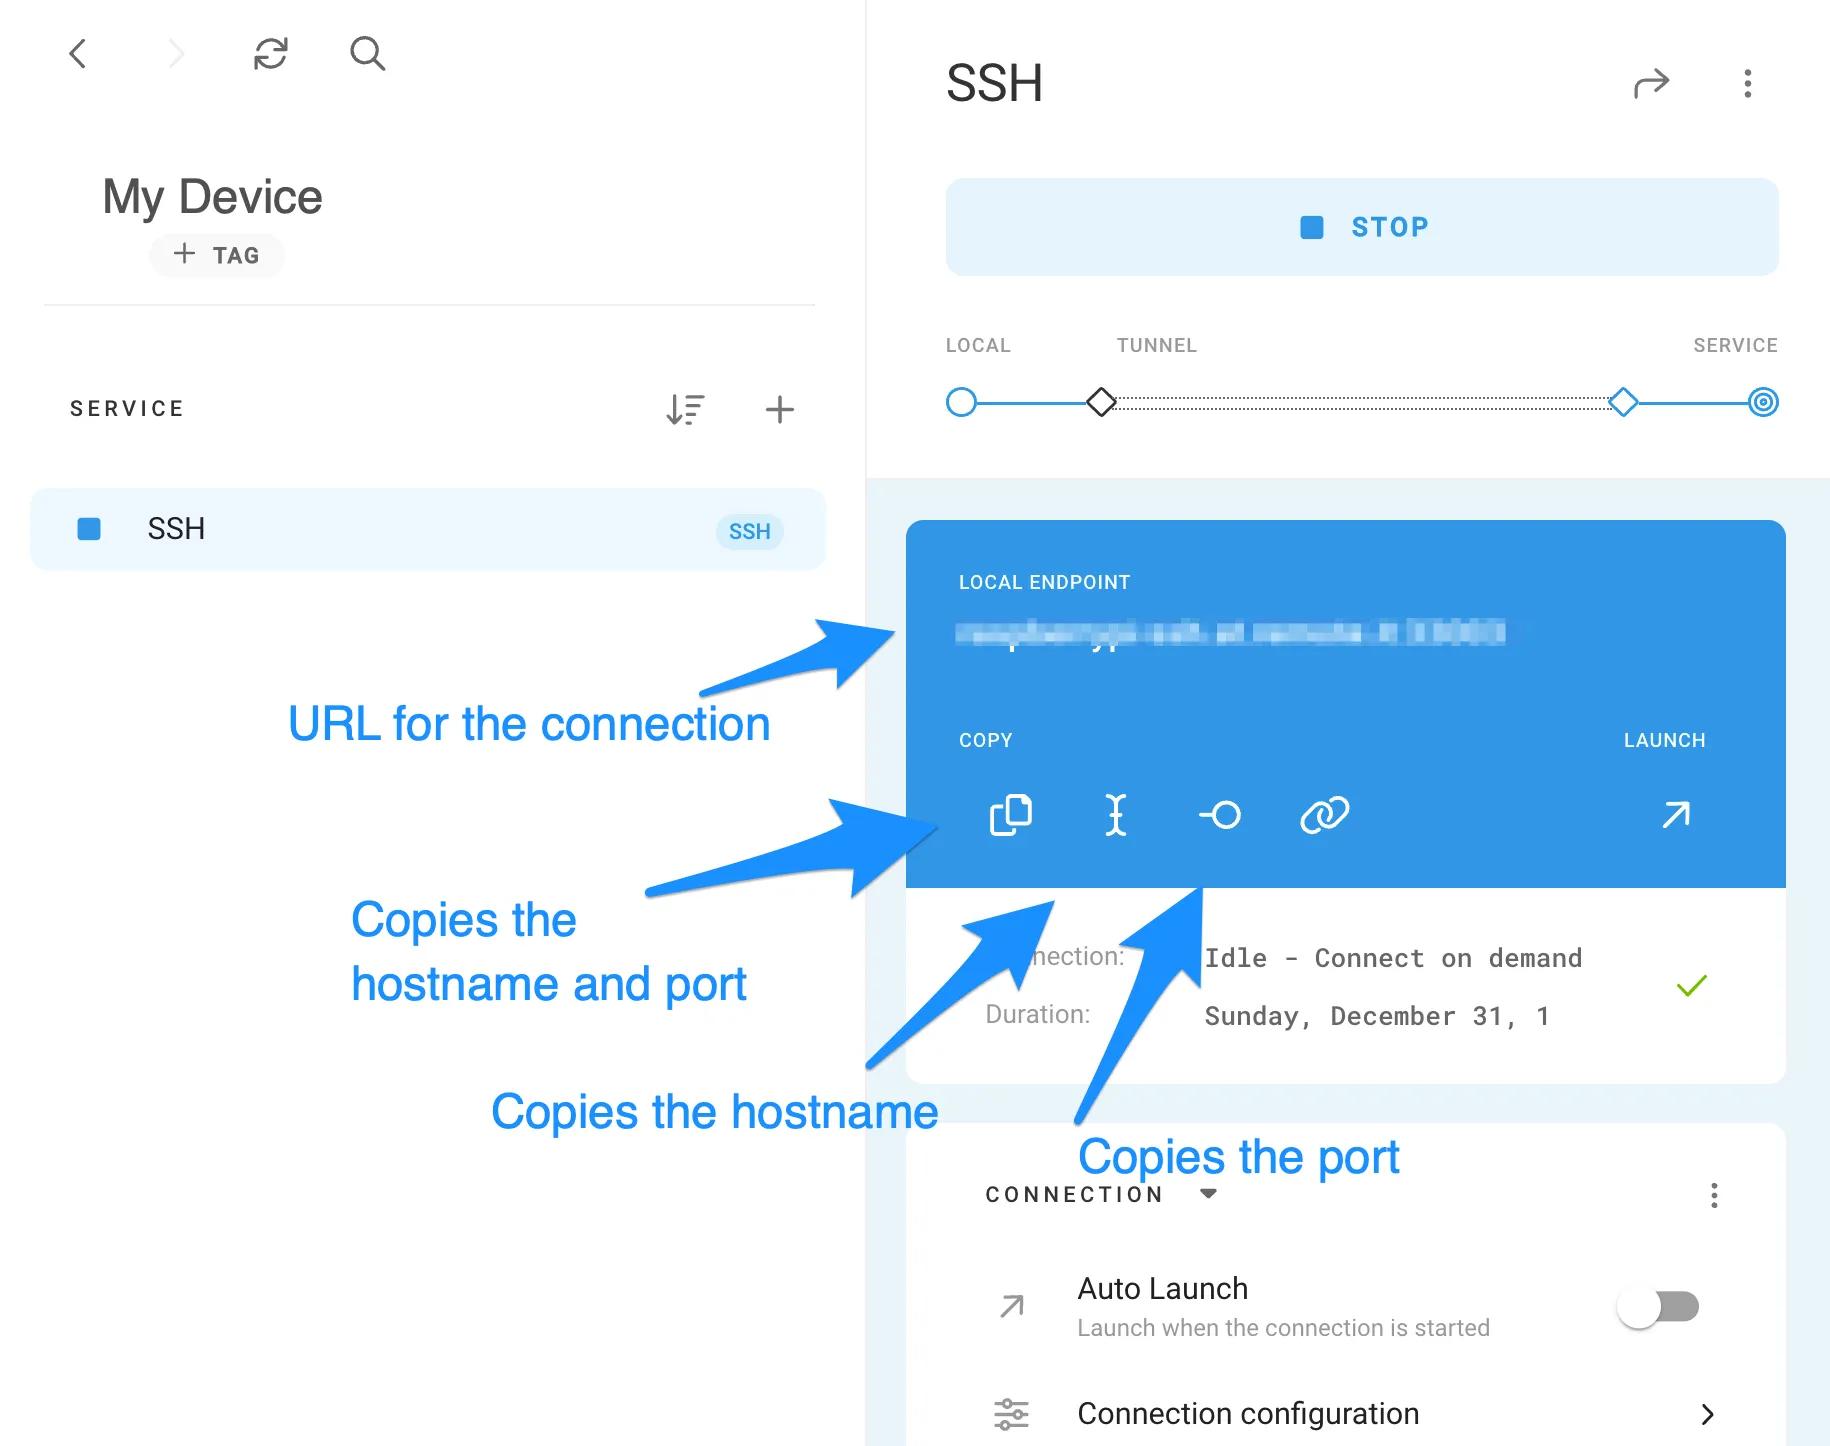
SSH is your best friend when it comes to remote connect to Raspberry Pi. It’s a secure protocol that allows you to access your Pi from another computer. Enabling SSH is a breeze, and here’s how you do it:
- Boot up your Raspberry Pi and log in.
- Open the terminal and type
sudo raspi-config. - Navigate to the SSH option and enable it.
- Reboot your Pi to apply the changes.
And just like that, you’ve got SSH up and running. Pretty simple, right? This is the foundation of your remote connection setup, so make sure you get it right.
Assigning a Static IP Address
Now, let’s talk about static IP addresses. When you remote connect to Raspberry Pi, having a static IP ensures that your Pi always has the same address, making it easier to connect. Here’s how you assign one:
- Open the terminal and type
sudo nano /etc/dhcpcd.conf. - Add the following lines at the bottom:
interface eth0static ip_address=192.168.1.100/24static routers=192.168.1.1static domain_name_servers=192.168.1.1- Save and exit, then reboot your Pi.
Boom! You’ve got a static IP. This step might seem a bit technical, but trust me, it’s worth it in the long run.
Configuring Your Router
Your router plays a crucial role in allowing you to remote connect to Raspberry Pi. You’ll need to configure port forwarding to ensure that incoming connections reach your Pi. Here’s what you need to do:
- Log in to your router’s admin interface.
- Find the port forwarding section.
- Add a new rule for SSH, using port 22.
- Set the internal IP address to your Pi’s static IP.
That’s it! Your router is now set up to direct incoming SSH traffic to your Pi. Easy peasy.
Using SSH Clients to Connect
Popular SSH Clients
Now that your Pi is all set up, it’s time to connect. There are several SSH clients out there, but some of the most popular ones include:
- Putty: A classic choice for Windows users.
- Terminal: Built into macOS and Linux systems.
- MobaXterm: A powerful tool with additional features.
Each client has its own quirks, but they all get the job done. Choose the one that suits your needs and preferences. Once you’ve got your client ready, connecting to your Pi is as simple as entering the IP address and hitting connect.
Enhancing Security with SSH Keys
Security should always be a top priority, and using SSH keys is a great way to enhance it. Here’s how you set them up:
- Generate a key pair using
ssh-keygen. - Copy the public key to your Pi using
ssh-copy-id. - Disable password authentication in the SSH config file.
By using SSH keys, you’re adding an extra layer of protection to your remote connections. It’s a small step that can make a big difference in keeping your Pi secure.
Alternative Methods for Remote Access
VNC for GUI Access
While SSH is great for command-line access, sometimes you need a graphical interface. That’s where VNC comes in. VNC allows you to access your Pi’s desktop remotely, giving you full control over the GUI. Here’s how you set it up:
- Install the VNC server on your Pi.
- Configure it to start automatically on boot.
- Use a VNC client on your computer to connect.
VNC is perfect for those who prefer a more visual approach to remote access. It’s a bit more resource-intensive than SSH, but it’s well worth it for certain tasks.
Troubleshooting Common Issues
Even the best-laid plans can hit a snag, so let’s talk about some common issues you might encounter when trying to remote connect to Raspberry Pi:
- Connection Refused: Check your firewall settings and ensure that SSH is enabled.
- Timeout Errors: Verify your IP address and ensure that port forwarding is correctly configured.
- Authentication Failed: Double-check your username and password, or ensure that your SSH keys are correctly set up.
Don’t let these issues discourage you. With a bit of troubleshooting, you’ll have your Pi up and running in no time.
Best Practices for Remote Connections
Finally, let’s touch on some best practices to keep in mind when you remote connect to Raspberry Pi:
- Always use strong passwords or SSH keys.
- Keep your software up to date to patch vulnerabilities.
- Limit access to trusted devices and networks.
By following these guidelines, you’ll ensure that your remote connections are both secure and reliable. It’s all about striking the right balance between convenience and safety.
Conclusion
So, there you have it, folks. A comprehensive guide to remote connect to Raspberry Pi. Whether you're setting up SSH, configuring your router, or exploring alternative methods like VNC, this article has got you covered. Remember, the key to successful remote connections is preparation and security.
Now, it’s your turn to take action. Try out the steps we’ve outlined, and don’t hesitate to reach out if you have any questions. Share this article with your friends, drop a comment below, and let us know how your remote connectivity journey goes. Together, let’s make tech accessible and fun for everyone!

Detail Author:
- Name : Prof. Casandra Gottlieb II
- Username : mariano.rodriguez
- Email : hal.brekke@yahoo.com
- Birthdate : 1973-11-12
- Address : 8645 Corine Grove Suite 765 Anaismouth, NH 26597-5216
- Phone : (364) 816-7748
- Company : Shields-Christiansen
- Job : Power Plant Operator
- Bio : Eum consequatur sit eos et sed cum. Perspiciatis incidunt ut nostrum at unde.
Socials
linkedin:
- url : https://linkedin.com/in/lauryn_dev
- username : lauryn_dev
- bio : Voluptatibus ipsum non et eaque.
- followers : 1075
- following : 1955
facebook:
- url : https://facebook.com/hackett2015
- username : hackett2015
- bio : Illo numquam praesentium veritatis et libero natus repudiandae.
- followers : 4532
- following : 52
